Graphic Design Proposal Template: Free & Easy-to-Use for Clients

Winning design projects is not just about great ideas. Without a clear proposal, projects can get delayed, and clients may not fully understand your value.
A graphic design proposal is a simple and professional way to show what you deliver, how you work, and what clients can expect. It saves time, builds trust, and helps you close projects faster.
In this article, you’ll know:
- What a graphic design proposal is
- What to include in a professional proposal
- How to write a proposal step by step
- How to manage and send proposals easily with OneSuite
This guide will help you create clear, client-ready proposals that impress and streamline project approvals.
Free Graphic Design Proposal (Download)
Before we dive in , if you’re here for the contract, go ahead and grab it now:
What is a Graphic Design Proposal?
A graphic design proposal is a professional document that outlines the details of a design project between a designer and a client.
It includes crucial elements such as the scope of work, timeline, deliverables, and payment terms. This proposal serves as a roadmap for the project, ensuring both parties are aligned on expectations, deadlines, and financials.
Graphic design proposals are essential documents in the sales process. They play a key role in client onboarding, helping to set the stage for a successful collaboration.
Using a well-crafted proposal template, you can confidently present your services to your ideal clients and win their business.
What Does A Graphic Design Proposal Include?
As you already know, a graphic design proposal comprises several key components that outline what to include in your proposal template. A graphic design project proposal is the main sales page when onboarding a client.
These elements help ensure the project runs smoothly, aligns with the client’s expectations, and achieves successful outcomes for all parties involved.
Below are the essential components of a graphic design proposal:
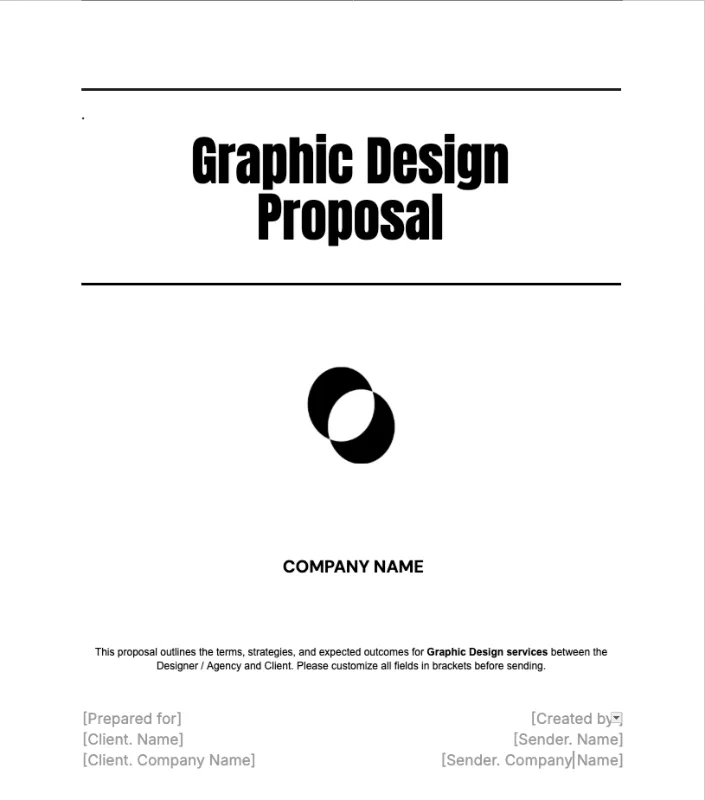
Cover Page: This page includes the project title, your business name and logo, and your contact information. It provides a professional introduction to your proposal.
Executive Summary: A brief overview of the project that outlines the client’s goals, the design services you’ll provide, and the expected outcomes. It sets the stage for the rest of the document.
Team Members: Introduce your design team, including the Lead Designer / Project Manager and key contributors like Brand Designer, Graphic Designer, and Junior Designer.
Timeline: A clear schedule outlining the milestones and deadlines for each project phase. This helps both you and the client stay on track and manage expectations.
Deliverables: List the final products the client will receive, such as design files, branding guidelines, or a finished website. Be specific about the format and quantity of deliverables.
Pricing and Payment Terms: This section includes a breakdown of costs for each phase of the project, along with payment schedules. Be transparent about your rates and any additional fees that may arise during the project.
Terms and Conditions: Outline the legal aspects of the agreement, including intellectual property rights, revisions, cancellation policies, and any other important details that protect both parties.
Portfolio: Include examples of your previous work that are relevant to the client’s project. This section helps build credibility and shows your design capabilities.
Call to Action (CTA): A final prompt encouraging the client to take action, such as scheduling a meeting, signing the agreement, or moving forward with the project.
⚡️See also: Free Web Design Contract Template (Download First!)
How to Write a Graphic Design Proposal: Step-by-Step Guide
A graphic design proposal is one of the most important documents for a designer project management . A well-written proposal showcases your professionalism and helps you deliver high-quality work that meets the client’s expectations and ensures their satisfaction.
Now that we know what to include in a graphic design proposal template, let’s discuss how to write a compelling proposal step by step that impresses clients and increases your chances of winning projects.
1. Research the Client and Their Needs:
Before drafting your proposal, study the client’s business, target audience, branding, and industry. This helps you tailor design solutions to their needs and provide clear branding suggestions. Analyze competitors to find inspiration and identify ways to make your client’s designs stand out.
- Understand the Business: Learn the client’s mission, values, and overall business goals.
- Analyze the Target Audience: Identify who their customers are and what appeals to them visually.
- Review Branding Guidelines: Take note of existing logos, color schemes, and design elements to maintain brand consistency.
- Study Competitors: Examine competitors’ designs to find gaps and opportunities for unique visual solutions.
- Gather Inspiration: Look for design trends and creative ideas that can be adapted to the client’s project.
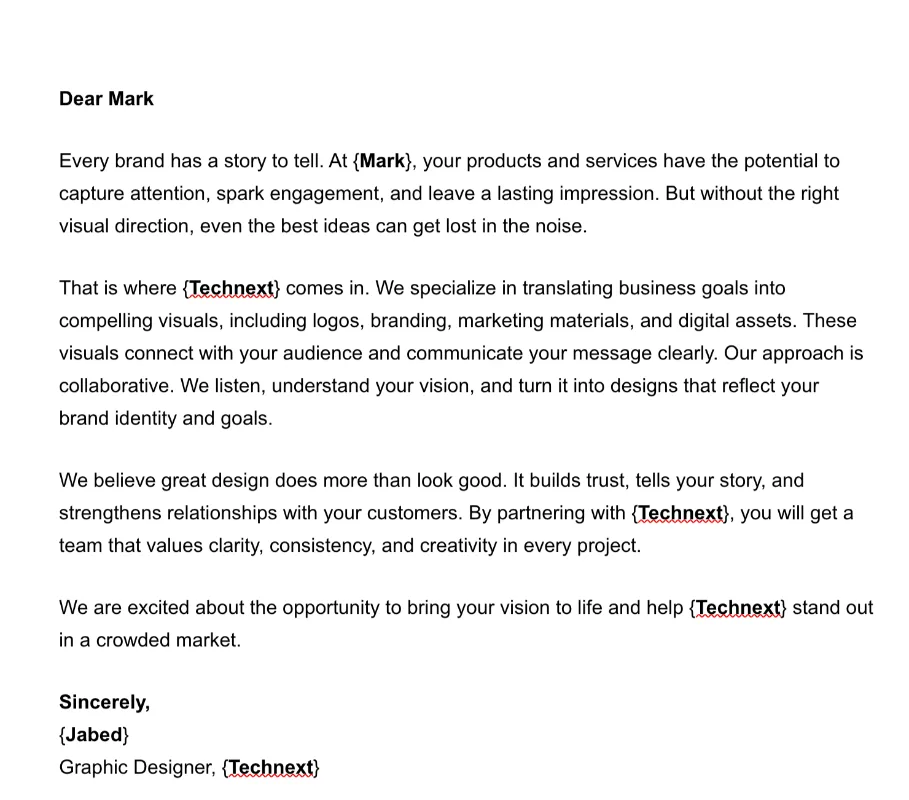
2. Create a Strong Introduction
The introduction is your chance to make a great first impression. Start by introducing yourself or your agency, explaining your expertise, and conveying your enthusiasm for the client’s project.
- Introduce Yourself/Agency: Briefly share your background, experience, and what makes you uniquely qualified for this project.
- Show Enthusiasm: Express genuine interest in the client’s project, highlighting how excited you are about the potential collaboration.
- Tailor to Client: Reflect on what excites you about the client’s business or industry to demonstrate that you’re engaged and eager to help.
This section should establish your credibility and create an immediate connection with the client.
3. Define the Project Scope Clearly
During the first and second meetings with the client, carefully understand the scope of work, breaking it down part by part and taking detailed notes. When writing the project scope in your proposal, review these notes to ensure all client requirements are accurately included.
Clearly specify the design services you will provide, such as logos, branding, or design, and outline what is included and excluded to prevent misunderstandings.
4. Explain Your Design Process
Describe how you approach a project from start to finish to give the client a clear understanding of your workflow.
Workflow Overview:
- Concept Development: Research the client, audience, and competitors. Create multiple design concepts aligned with project goals.
- Client Feedback: Include 2–3 review rounds in the project scope. Each round refines the design based on client input.
- Revisions: Additional revisions beyond the included rounds are billed separately.
- Strategy: Ensure designs support the client’s brand and project objectives.
- Final Deliverables: Provide all assets in required formats (AI, PSD, PNG, JPG, EPS) and include style guides or mockups if needed.
This section clarifies your workflow, sets expectations, and ensures your proposal template covers every project stage.
5. List Deliverables
Clearly state all items the client will receive to avoid confusion and ensure expectations are aligned.
Typical Deliverables Include:
- Initial design concepts and sketches
- Mockups and prototypes
- Final design files in multiple formats (AI, PSD, PNG, JPG, EPS)
- Branding guidelines or style guides (if applicable)
- Any additional assets (icons, illustrations, templates)
Important Note: Delivery timelines depend on timely client feedback. If the client delays reviews or approvals, the final delivery date will be adjusted accordingly. Additional work or revisions beyond the agreed scope may incur extra charges.
6. Set a Timeline
Provide realistic deadlines for each project phase, including concept development, revisions, and final delivery. Factor in client review time, off days, and holidays to avoid misunderstandings. Make it clear that if the client delays feedback, the overall delivery date will shift accordingly.
7. Present Pricing and Payment Terms
Pricing transparency is crucial. Break down your costs clearly and explain your payment terms to avoid any confusion later on.
Pricing Breakdown:
- Design Fees: Clearly list the cost for each phase of the project or by deliverable (e.g., logo design, brand identity, website).
- Additional Costs: Mention any extra fees that might arise, such as for stock images, premium fonts, or additional revisions.
- Payment Schedule: State your preferred payment structure (e.g., deposit, progress payments, and final payment).
By laying out clear pricing and payment expectations, you can avoid uncomfortable discussions later in the process.
See Also: 5 Billing Models for Digital Service Business Every Freelancer and Agency Should Know in 2025
8. Include Relevant Portfolio Samples or Case Studies
Show the client that you have the experience and expertise to deliver high-quality results. Include relevant portfolio samples or case studies to demonstrate your work and highlight similar projects.
9. Conclude with Next Steps and Call to Action
End your proposal by guiding the client on what to do next. Before moving forward with e-signing, encourage the client to review the entire proposal to ensure all details meet their expectations. Clearly explain how they can approve the proposal, schedule a kickoff, or reach out with questions.
A strong call to action ensures both parties are aligned, creating a smooth start to the project and setting the stage for a successful, win-win collaboration.
If you use the OneSuite Graphic Design Proposal template, you can complete it in just a few minutes and send it to the client for e-signing.

Graphic Design Proposal Template With OneSuite
You already know all the instructions for a proposal template. We help you create a proper, complete template and send it to your client using OneSuite’s documentation feature. It’s easy to use and takes just a few minutes to fill out and send your client’s proposal.

Step 1: Access the Template
After signing up or logging in, go to the Documents section. Click on “Create from Template” at the top of the view. You’ll find the Graphics Design Proposal Template ready to use.

Step 2: Fill in the Details
Select your client as the recipient and complete all necessary information that isn’t already included in the template. Customize sections such as deliverables, timeline, and pricing to match your client’s needs.
Step 3: Send for e-Signature
Drag and drop signature fields, date fields, or checkboxes as needed. Once complete, customize the email if necessary and click “Send.” Your client will receive a secure link to review and electronically sign the graphics design proposal.

Step 4: Track and Store
After your client signs, you’ll receive a notification. The completed proposal is automatically saved in OneSuite with a signature certificate for your records.
For a step-by-step walkthrough, you can watch this helpful video: “How to Use OneSuite Documents for Template.”
Read Also: Download our free logo design contract template to secure your work, set clear terms, and ensure smooth collaboration with every client.
FAQs
What mistakes should I avoid in a graphic design proposal?
– Not fully understanding the client’s goals.
– Failing to include a clear scope of work.
– Incomplete or inaccurate understanding of client information.
What success metrics should I include in a design proposal?
– Completion of deliverables on time and within scope.
– Alignment with client branding and objectives.
– Positive client feedback and approval at each review stage.
– Achievement of project goals, such as improved brand visibility or engagement.
What client information do I need before writing a proposal?
– Detailed business and brand information.
– Target audience and market insights.
– Project goals and expectations.
Find a Better Way to Grow
OneSuite streamlines projects, clients, and payments in one place, making growth hassle-free.