If you already have a PDF (like an NDA, contract, or agreement), you can upload it directly into OneSuite and send it for signatures—no need to rebuild it from scratch. The process is quick, intuitive, and uses the same signer and field placement flow as regular documents.
Upload a Prebuilt PDF Document #
- Go to the Documents module: From the left sidebar, click Documents V2 to access your document dashboard.
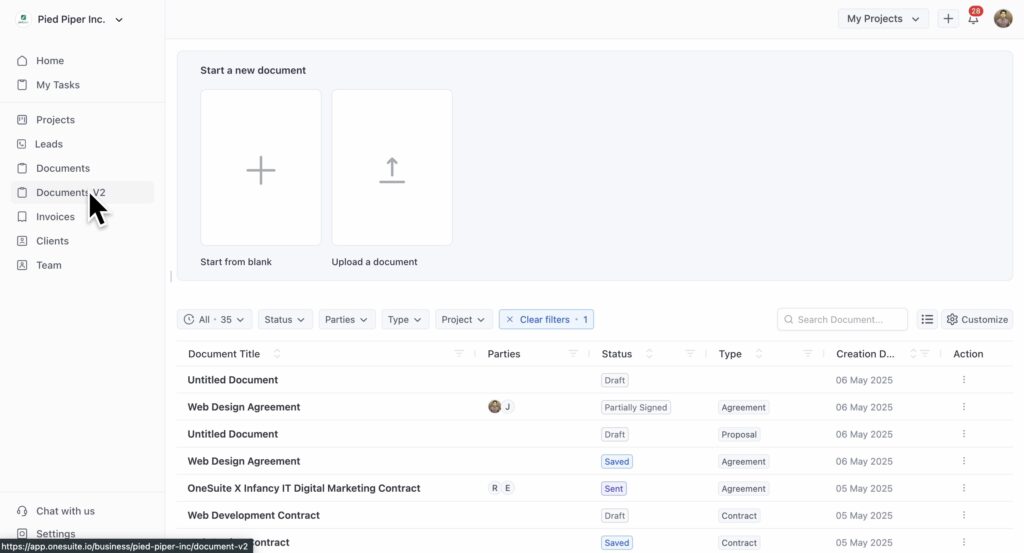
- Click “Upload a Document”: You’ll see this option at the top-right of the screen.
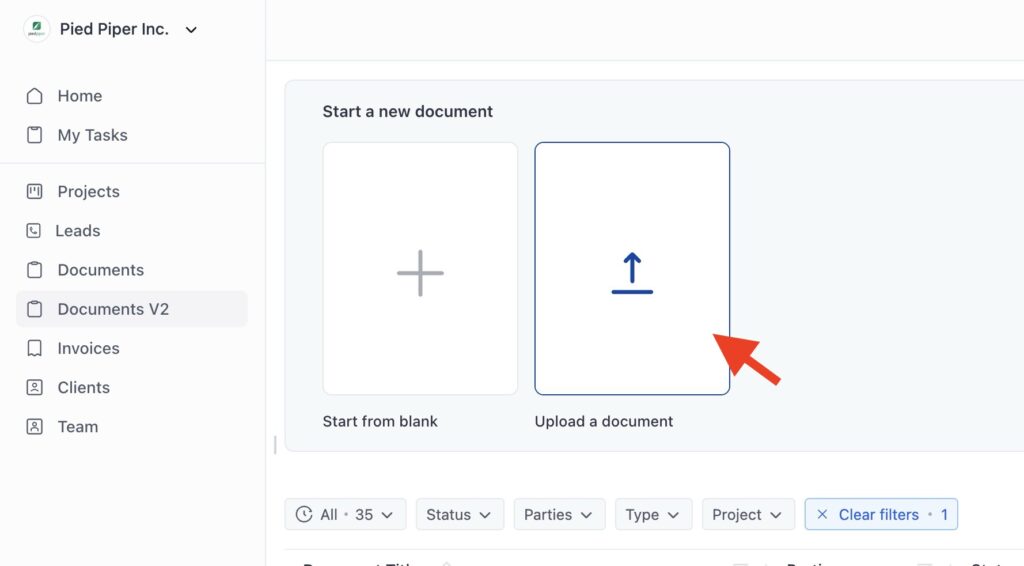
- Select a PDF file: Choose the file you want to upload from your device (must be a
.pdf). - Click “Upload”: This will load the document into OneSuite’s field editor.
Link to a Project (Optional) #
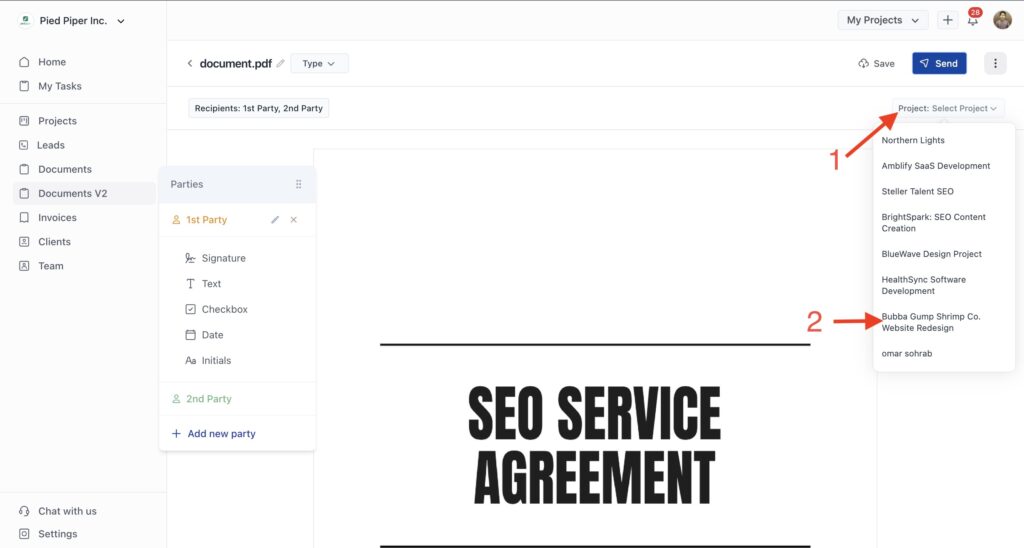
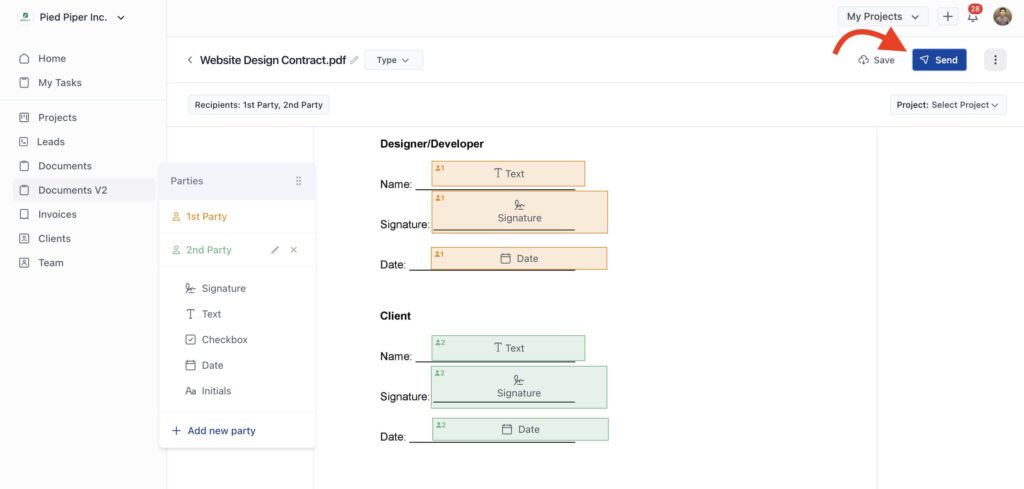
- Go to the top-right corner and click on the Project selector: This will open a dropdown of all available projects in your workspace.
- Select the desired project from the list: The document will now be linked and grouped under that project for easy tracking.
Add Signature Fields #
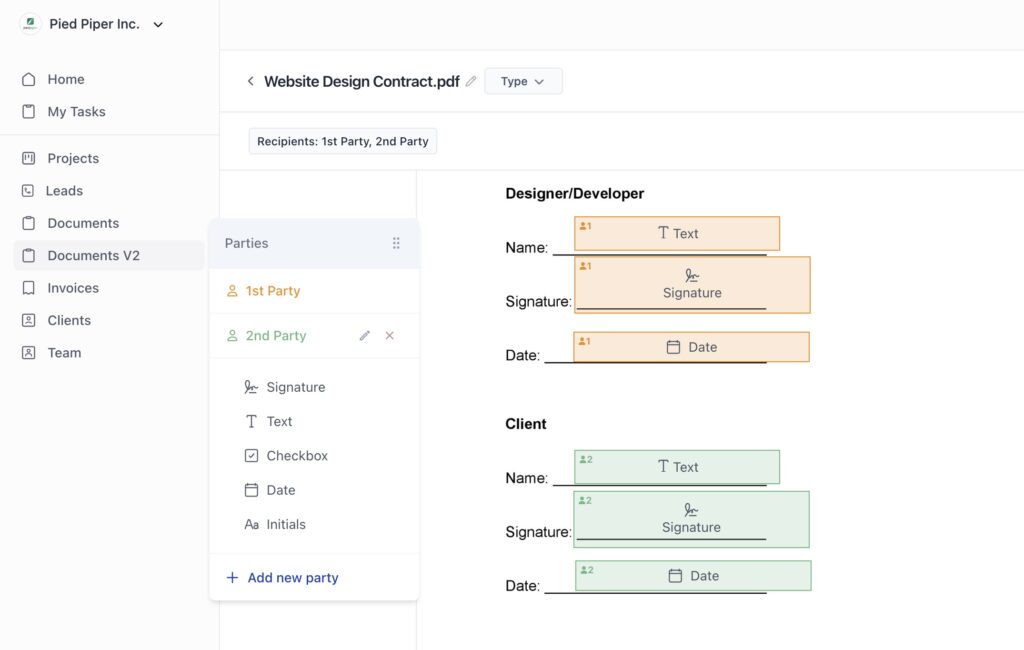
- Go to the left side of the screen and choose the field you want to add. (You’ll see options like Signature, Date, Text, and Checkbox.)
- Drag and drop the selected field onto the appropriate place in the document (Each field will be color-coded based on the party it’s assigned to.)
Send for Signature #
After adding all field placements, click “Save” and then“Send” to move to the signer selection.
After clicking Send, you’ll be taken to the signer confirmation and email customization screen.


