
How to Create a Client Onboarding Workflow in 10 Steps

August 19, 2026
A client onboarding workflow is a repeatable process that moves a new client from signing the contract to starting project work. It keeps your sales, finance, account management, and delivery teams aligned while giving every task a clear owner and deadline.
For most agencies, the process includes finalizing the agreement, collecting the first payment, transferring sales information, gathering project requirements and account access, assigning the delivery team, setting communication expectations, and preparing for kickoff.
This guide walks you through a 10-step client onboarding workflow for agencies, from contract signing to the final readiness check. You’ll also get practical tips for different agency services, learn what to automate, and see how OneSuite can keep the entire onboarding process in one connected workspace.
Why Client Onboarding Becomes a Bottleneck
Client onboarding becomes a bottleneck when your agency can close clients faster than it can prepare them for delivery.
The biggest problem is usually not one major failure. It is a series of small delays:
- The contract is signed, but payment is still pending.
- The client sends some files, but important access is missing.
- Sales knows the full context, but the project team does not.
- Information is spread across email, Drive, CRM, and project management tools.
- The client completes a step, but nobody moves them to the next one.
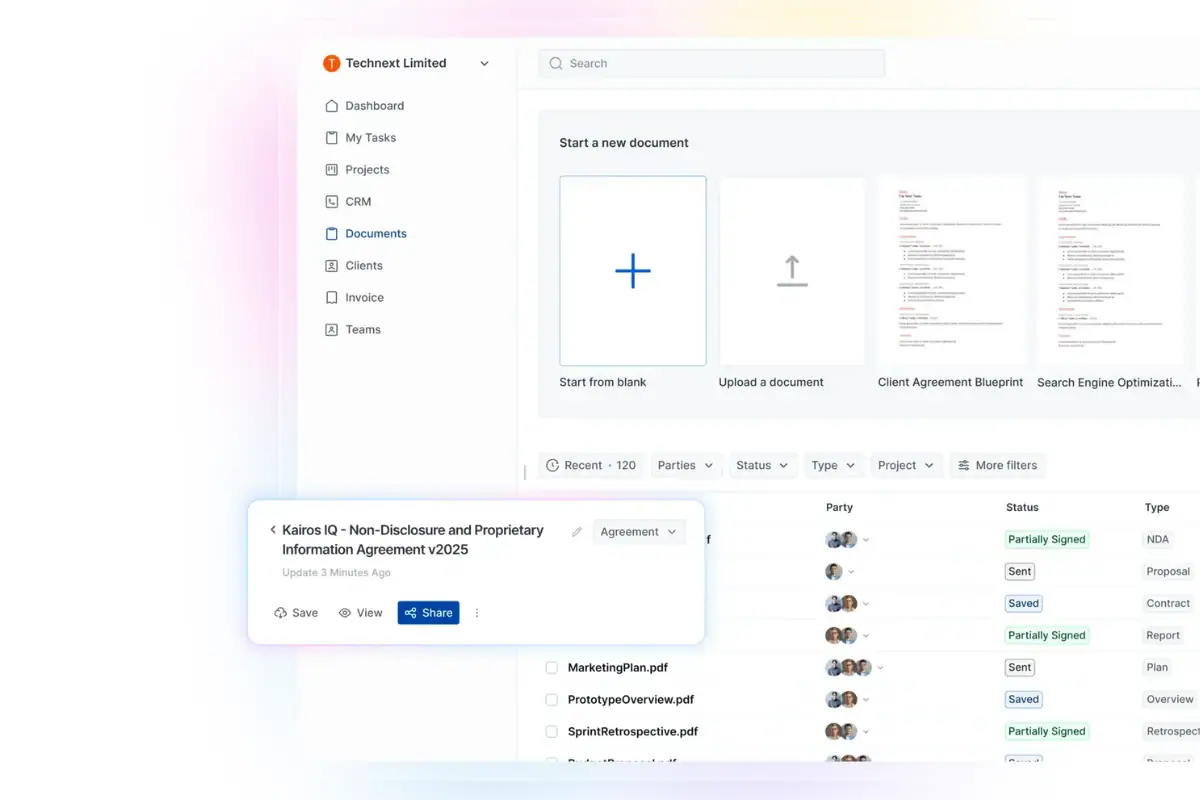
As your agency grows, these gaps become harder to manage. Your team spends more time chasing files, checking payment status, asking for access, and figuring out what is still missing.
This slows down project kickoff. It also increases non-billable admin work and weakens the client’s first experience with your agency.
A strong client onboarding workflow removes these gaps by giving every client the same clear path:
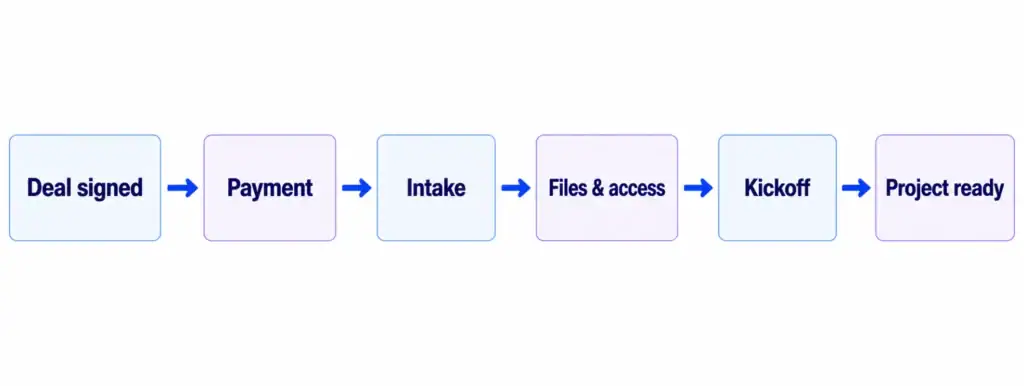
The goal is simple: make it easy for your team to know what happens next and easy for the client to complete their part without being chased.
The Complete Client Onboarding Workflow
A strong onboarding workflow turns a new client into a project your team is fully ready to deliver. Each step should remove uncertainty, collect what is needed, and move the client forward without unnecessary back-and-forth.
Here’s how to structure the process from signed deal to project kickoff:
1. Move the Client From Sales to Delivery
2. Send the Contract and Get It Signed
3. Collect the Initial Payment
4. Give the Client Access to Their Portal
5. Send the Client Intake Form
6. Collect Files, Content, and Account Access
7. Schedule the Kickoff Meeting
8. Create the Project and Assign the Team
9. Set the Client Communication and Approval Process
10. Complete the Pre-Project Checklist
1. Move the Client From Sales to Delivery
Once the deal is closed, the client should move smoothly from sales into delivery without having to repeat everything again.
First, confirm that the contract is signed, the initial payment is complete, and the project start date is realistic for your team.
Then turn the sales conversation into a clear working scope. Your delivery team should understand what they need to deliver, what is outside the scope, and what the client needs to provide before work begins.
Finally, pass the important context from sales to the project team. They should know why the client hired you, what result matters most, who makes decisions, and whether any special promises were made.
Use your sales team management tools to keep proposals, sales notes, meeting recordings, and key files organized, giving the project manager the full context before kickoff.
A strong sales-to-delivery handoff helps your team start with the right context and gives the client a smoother experience from day one.
2. Send the Contract and Get It Signed
A contract should do more than confirm the deal. It should give both your team and the client a clear working agreement before delivery begins.
Define exactly what is included in SCOPE in the project and where the boundaries are. Make it clear what your agency will handle and what the client must provide.
List the main outputs the client will receive. Set clear priorities, ownership, and completion expectations so each deliverable can move directly into your project management workflow. Set realistic dates for milestones, reviews, revisions, and final delivery. Include client-side dependencies, such as content, access, or feedback, so delays are easy to identify.
Cover payment, revisions, extra work, cancellation, ownership, confidentiality, and NDA requirements. Clear terms reduce disputes and protect both sides if the project changes. Once signed, the contract becomes the reference point for the project, billing, and delivery teams.
3. Collect the Initial Payment
Before work begins, collect the agreed deposit, first invoice, or retainer payment.
Make the amount, due date, payment method, and billing terms clear so there is no confusion about when the project officially starts.
For project-based work, the initial payment helps secure the client’s commitment and protects your team from starting unpaid work. For retainers, confirm the recurring billing schedule before delivery begins.
Once payment is received, update the client record and move the project into the next onboarding stage.
4. Give the Client Access to Their Portal
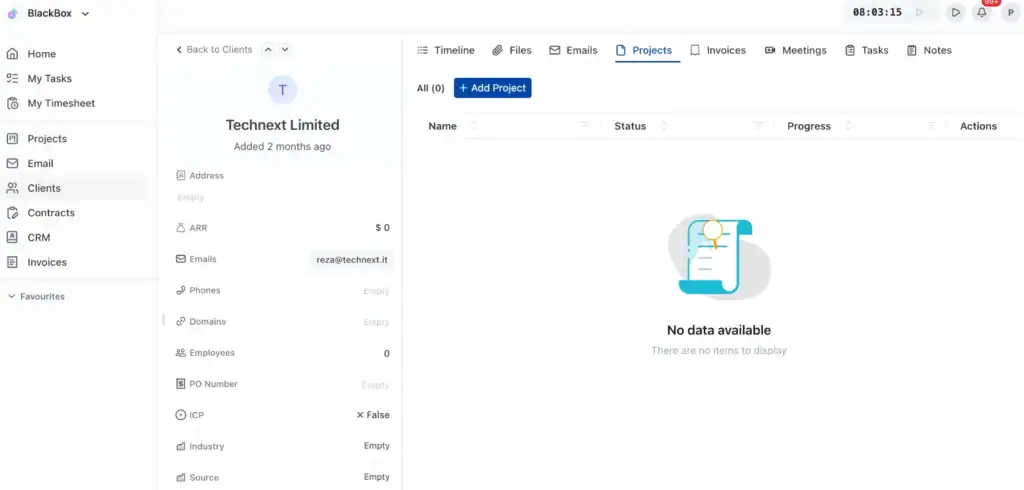
Once onboarding starts, give the client access to a dedicated portal where they can follow the project without depending on email for everything.
They should be able to see project progress, access shared files and important documents, review invoices, and communicate with your team from the same place.
Before sending the invitation, set the right access permissions so each client only sees the projects, files, billing information, and conversations that are relevant to them.
This makes the onboarding experience easier for the client and gives your team one organized place to manage the relationship.
5. Send the Client Intake Form
Send a short intake form before kickoff to collect the information your team actually needs to start.
Focus on the essentials: the client’s main goal, service requirements, deadline, key stakeholders, communication preferences, and any important constraints or access your team needs.
Keep the form simple. Avoid asking for long company histories or detailed information that can be covered later during discovery. If a question does not affect how your team starts the project, it probably does not need to be in the first form.
Once submitted, use the answers to prepare the kickoff meeting, confirm priorities, and identify any missing information before work begins.
6. Collect Files, Content, and Account Access
Collect everything your team needs before production starts, and keep it in one organized place instead of chasing assets across email and chat.
Ask for brand assets, website credentials, hosting access, analytics, ad accounts, social accounts, and any required content or media.
Be specific about what you need and how it should be shared. For access, ask the client to invite your team through the platform whenever possible instead of sending passwords.
Also separate what is required to start from what can be provided later. This helps your team avoid delays without overwhelming the client with unnecessary requests.
7. Schedule the Kickoff Meeting
Schedule the kickoff once the contract is signed and the required client information is ready.
Use the meeting to align both sides on the project goals, scope, timeline, priorities, responsibilities, and approval process. Make sure the right decision-makers and project owners are included.
Send a short agenda before the call so everyone knows what will be discussed. During the meeting, confirm key milestones, communication channels, meeting frequency, and what each side needs to deliver.
After the kickoff, share a short recap with the agreed decisions, action items, owners, and deadlines. This gives both teams a clear starting point for the project.
8. Create the Project and Assign the Team
Once onboarding is complete, turn the agreed scope into an actual project plan.
Start with a project template that matches the type of work, then customize it for the client. Keep the structure based on real delivery stages such as discovery, design, development, review, launch, or reporting.
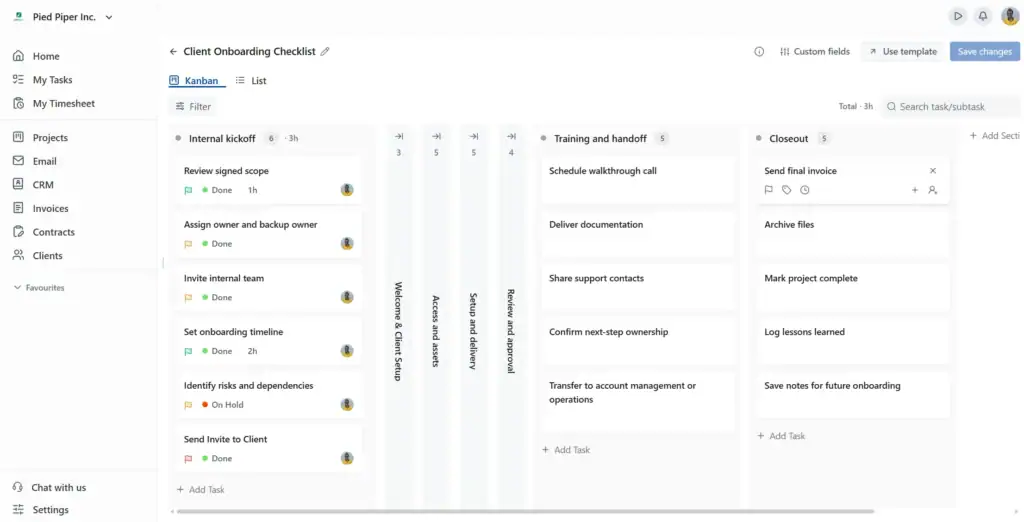
Break the work into clear tasks that describe specific actions rather than vague activities. Use subtasks for smaller steps, but keep separate tasks when different people, deadlines, or approvals are involved.
Add milestones for major progress points such as strategy approval, design sign-off, build completion, or launch. These give both your team and the client an easy way to understand where the project stands.
Assign one clear owner to every important task and milestone. Match work to the right person based on skill and availability instead of simply giving everything to the same team member.
Finally, set realistic deadlines around dependencies, review time, and client approvals. Work backward from major milestones and leave enough room for feedback or revisions.
Before sharing the plan with the client, review it internally to make sure the workload, responsibilities, and dates are realistic.
9. Set the Client Communication and Approval Process
Before delivery gets busy, agree on how communication, feedback, and approvals will work. This prevents scattered conversations and keeps decisions from slowing down the project.
- Where communication happens: Choose one primary channel for project updates, questions, and important decisions. Avoid spreading conversations across email, chat, calls, and different tools where information can easily get lost.
- Who approves work: Identify the main decision-maker and who can approve each deliverable. Too many reviewers can create conflicting feedback and unnecessary revision cycles.
- How feedback is submitted: Set a clear process for feedback and revisions. Ask clients to keep comments organized in one place and submit consolidated feedback rather than sending separate messages from different stakeholders.
- Expected response time: Agree on reasonable response and approval times for both sides. If client feedback is required before the next task can begin, make it clear that delayed approval may also move the project timeline.
A clear communication and approval process keeps projects moving and reduces unnecessary back-and-forth throughout the engagement.
10. Complete the Pre-Project Checklist
Before your team starts delivery, run one final check to make sure the project is truly ready to move forward.
Confirm that the contract is signed and the agreed initial payment has been received. Review the intake form and make sure there are no critical unanswered questions.
Check that all required files, content, and account access for the first phase have been received and tested. If something is missing but does not block the first tasks, record it with a clear owner and deadline.
Make sure the kickoff meeting is complete, key decisions are documented, and both sides agree on the scope, timeline, responsibilities, and communication process.
Finally, confirm the right team members are assigned, their workload is realistic, and every important task has a clear owner.
Think of this as a final go/no-go check:
- Go: Everything required to start is ready.
- Conditional Go: Only non-critical items are missing.
- No-Go: A critical requirement such as the contract, payment, access, or essential assets is still incomplete.
This final check helps prevent avoidable delays, scope confusion, unpaid work, and projects starting before the team is actually ready.
👉 Download the client onboarding checklist.
Client Onboarding Workflow by Agency Type
The core onboarding process stays similar, but the information, access, and approvals you need will change depending on the type of agency you run.
Digital Marketing Agency
For a marketing agency, onboarding should focus heavily on access, tracking, and campaign context.
Make sure your team can access Google Ads, Meta Ads, analytics, CRM, and relevant social accounts before campaign work begins. Confirm that the correct permission levels are granted and that tracking is working properly.
You should also understand the client’s campaign goals, target audience, budget, and success metrics. Reviewing previous campaign data helps your team see what worked, what failed, and where opportunities may exist.
A good marketing agency management software setup can keep campaign information, client communication, tasks, and reporting connected instead of spreading them across separate tools.
Web Design and Development Agency
Web projects usually depend on technical access and client-provided content.
Collect access to the domain, DNS, hosting, CMS, staging environment, and any existing code or integrations your team needs. Test the access before development starts rather than discovering permission problems halfway through the project.
You should also gather existing website content, brand assets, technical requirements, and any important SEO, performance, accessibility, or security expectations.
Once everything is collected, use clear team management to assign design, development, content, QA, and launch responsibilities so everyone knows what they own.
Design and Creative Agency
Creative onboarding starts with understanding the brand before producing new work.
Collect brand guidelines, original logo files, existing creative assets, references, and a clear creative brief. The brief should explain the goal of the work, target audience, key message, deliverables, and important limitations.
It is equally important to identify who has final approval. Agree on how feedback will be submitted and how many revision rounds are included. This prevents conflicting feedback from different stakeholders and keeps creative work moving.
Legal and Professional Service Firms
For legal and professional services, onboarding needs stronger control around documents, confidentiality, billing, and client communication.
Begin with the signed engagement agreement and collect the documents required to start the matter. Confirm the correct client entity, key contacts, billing details, and any compliance requirements before substantive work begins.
Sensitive documents should be exchanged through secure file sharing rather than informal email threads. Communication expectations should also be clear, including who the main contact is, how urgent requests are handled, and when clients should expect updates.
Using client onboarding software can help centralize agreements, documents, invoices, communication, and client information while keeping the onboarding process consistent across every new engagement.
Manage the Entire Client Onboarding Workflow in OneSuite
A great client experience starts before the real work begins.
With OneSuite, you can move a new client through the entire onboarding process without jumping between emails, spreadsheets, payment tools, file storage, and project apps.
CRM → Contract → Invoice → Client Portal → Intake → Files → Scheduling → Project → Tasks → Communication
Capture the client in your CRM, send the contract for signature, collect the first payment, and invite them to a dedicated client portal. From there, gather the information and files you need, schedule the kickoff, create the project, assign the next tasks, and keep communication connected throughout the work.
Your team gets a clear process to follow, while your client always knows what is happening and what they need to do next.
Fewer follow-ups. Cleaner handoffs. A more professional start to every client relationship.
Build your client onboarding workflow in OneSuite and turn every new client into a smooth, repeatable experience.
FAQs
What is a client onboarding workflow?
A client onboarding workflow is the step-by-step process that moves a new client from signed deal to project kickoff.
How long should agency client onboarding take?
Most agency onboarding takes 3–14 business days, depending on project complexity, required access, and client responsiveness.
What should you collect from a new client?
Collect the essentials: project goals, key contacts, deadlines, billing details, files, account access, and approval requirements.
How do you automate client onboarding?
Automate repetitive steps such as welcome emails, intake forms, reminders, project creation, task assignment, and status updates.
What is the best client onboarding software for agencies?
The best client onboarding software centralizes contracts, payments, files, communication, project setup, and client access in one workflow.
Start exploring OneSuite today
No credit card is required